|
Disconnect battery. Relieve the fuel pressure at the fuel filter or the cold start
injector - be careful, wear safety gloves and eye protection, put a clean rag over the area to contain
any spray. However, this is only precautionary as only a small dribble of fuel came out when I did it. Note - the system remains pressurised when the engine is off! |
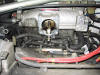 |
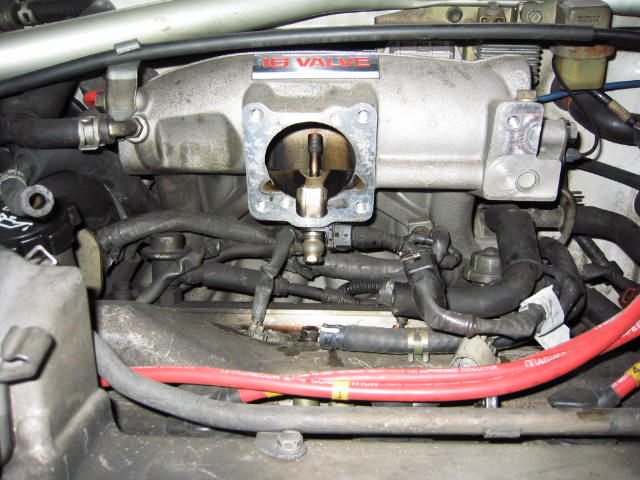
Remove throttle body. Label the connection to the
ISC and Throttle Position Sensor. Pull off the coolant
pipes located at either side of the ISC . Completely remove the air feed pipe to the ISC. Open the throttle fully by hand and disconnect the accelerator cable and pull free the rubber grommet locating the cable to the throttle body. Unclip the remainder of the accelerator cable and tuck it away somewhere out of the way. Once removed it will look like this. Note the cold start injector/5th injector in the centre of the manifold |
 |
To remove the fuel return pipe, pull it off from the solid fuel rail connection - have a pipe handy to block this off.. The pressure
feed pipe (the hose from the fuel filter) is removed by undoing the pulsation damper - on the right hand side of the rail. Watch out for the 2 copper sealing washers |
 |
Remove the two vacuum pipes from the FPR. Make a very careful note where the connections came from |
|
Label and remove the 4 leads to the injectors |
 |
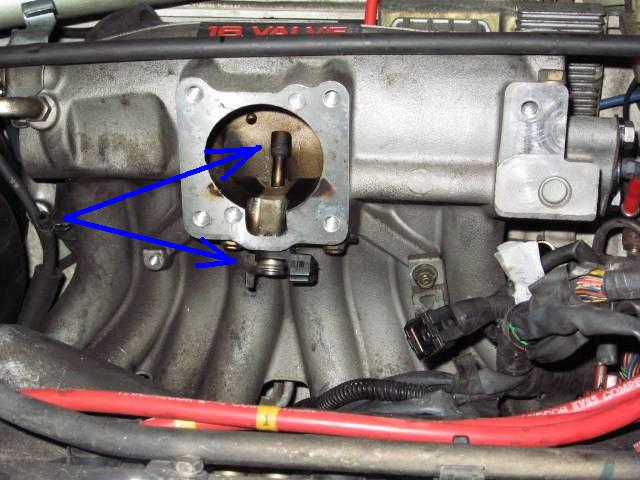
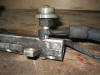
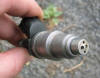
Remove fuel pipe to fifth injector - undo bolt and keep two copper washers. Remove 5th injector cable - label it!. Remove 5th injector from manifold - 2 bolts located either side. Picture shows injector and connector |
|
Next undo the three fuel rail securing bolts to the head. Gradually loosen these off in equal steps from the outside to the centre, so as not to warp the rail. Remove the 3 bolts and note the orientation of the spacers - plastic portion up. These come out easily, best to remove then now before you drop them into the engine bay and can't find them... |
|
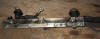
Gently lift upwards and towards the rear of the car. The fuel rail will 'just' come out - it's a bit of a squeeze. Note that the whole unit will come out - fuel rail
plus injectors. As you lift out the fuel rail, watch out for the rubber grommet attached to the end of each injector. I had 2 come out with the rail and 2 stayed in the holes in the head |
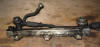 |
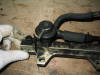
Fuel rail removed - shown without injectors. Note theFPR on the left of the rail |
 |
The injectors are only a push fit into the fuel rail, and simply slot into the holes shown on the underneath of the fuel rail here |
 |
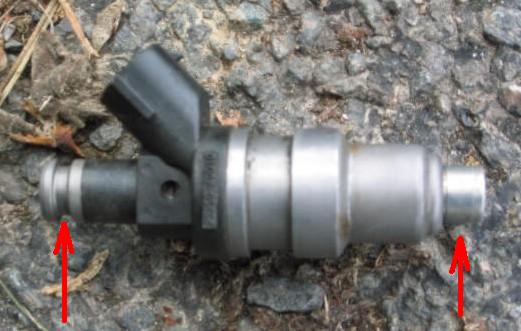
To refit the fuel rail, replace the o rings and fit the injectors into the fuel rail. Either insert the head to injector grommets
into the head or onto the end of the injector, before placing the rail back into the car. Note not to push the injector too far into the rail
otherwise fuel will leak past the o ring, you'll start swearing and you'll have to do it all again. The o ring location and rubber grommet locations are indicated in the picture |
|
Place the 3 spacers back onto their locating pins and ensure that the plastic portion remains uppermost |
|
Carefully and slowly reposition the fuel rail, locating all 4 of the injectors into their respective holes. Check and
make sure all the injectors are seated correctly with an inspection mirror |
 |
Do up the 3 securing bolts for the rail in successive steps starting from the centre of the rail working to the outside - torque 19Nm.
Note that once the rail is correctly torqued up then you will easily be able to twist each injector around. If you can't then you've done
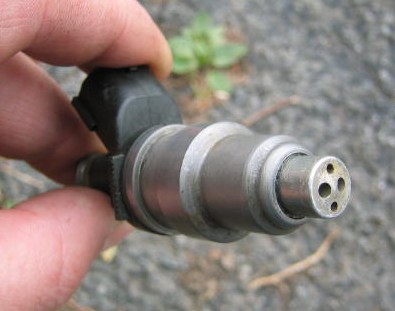
something wrong! The final position of the injector is connector pointing straight upwards. This is because there are 2 nozzles through which fuel
is sprayed - as shown in the picture. The injector should be double checked to ensure that the connector is pointing straight up so that each
of the 2 fuel outlets points directly towards a separate valve |
|
Fit the fuel pulsation damper, and if you have forgotten which copper seal went where the plain one went at the bottom. The damper does up to 29Nm |
|
Fit the FPR pipes, injector connections, fuel return pipe, throttle body and intercooler, don't forget the accelerator cable! When you've finished double check and then check everything again... |
|
Now comes the good bit - start the car! Check thoroughly the injector area for both fuel and air leaks. My advice is to keep checking this area for about a week for leaks - mine took a couple of days
to show up... |